Mold Removal in Las Vegas
You found it, the black-green bloom creeping up a closet wall, the dark freckling along a baseboard, the musty smell that hits you the second you open a door. Your stomach drops, and the questions start firing: Is it toxic? Is it spreading? Is it going to cost a fortune, and will whoever I call try to scare me into paying for more than I need? Take a breath. Mold is a solved problem when it’s handled to standard, and handling it to standard is exactly what we do.
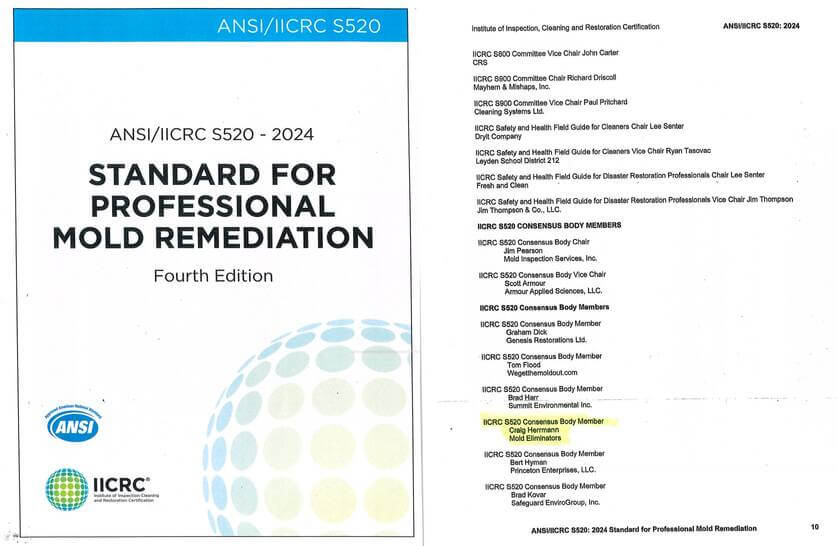
Mold Eliminators has remediated mold in more than 255 Las Vegas properties since 1996. Our founder, Craig Herrmann, helped author the ANSI/IICRC S520 standard, the national rulebook for mold remediation, and holds IICRC Master Restorer credentials. So when we tell you a wall is clean, that’s not an opinion; it’s a verifiable result measured against the document the entire industry follows. Where a franchise reads from the standard, Craig helped write it.
What mold remediation actually is
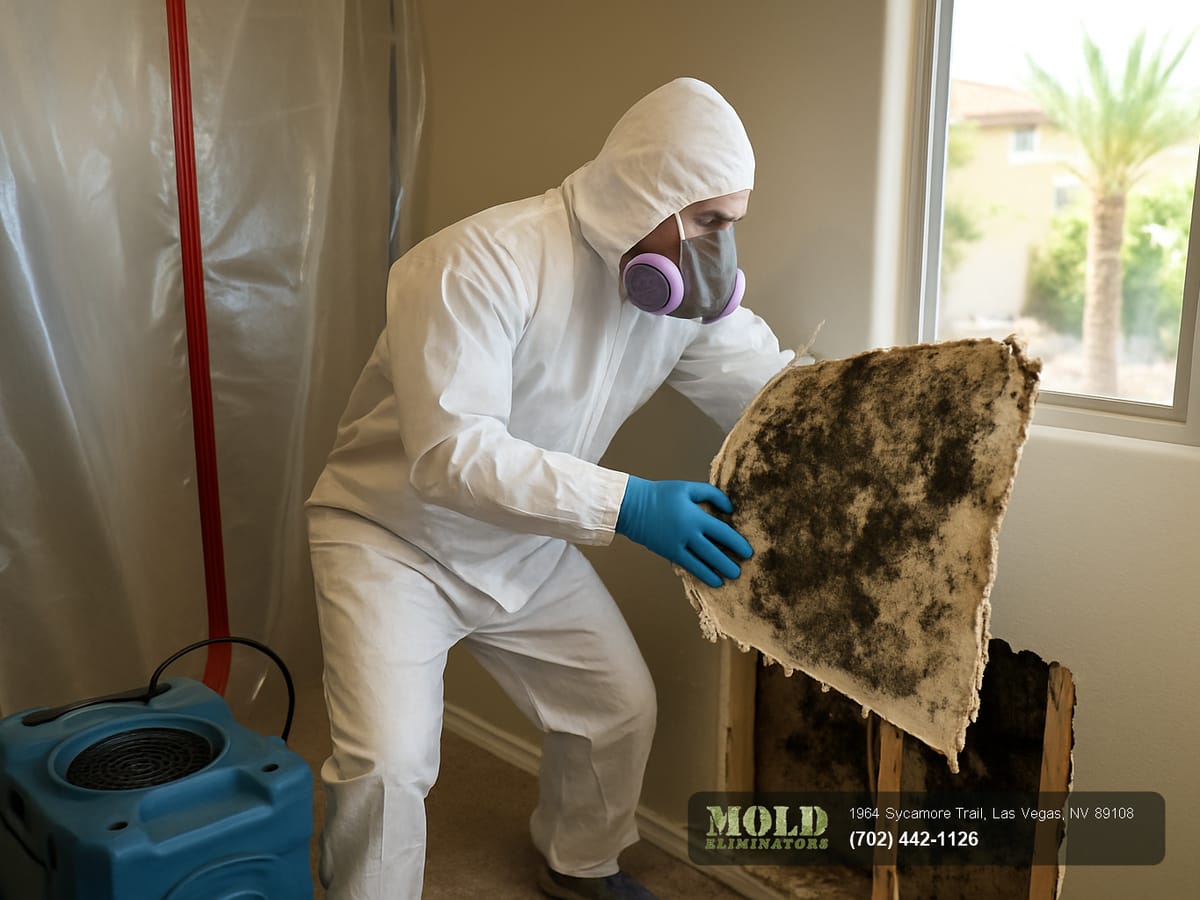
Mold remediation is one of the most misunderstood services a homeowner ever has to buy, partly because the word gets used loosely and partly because the topic is wrapped in fear. So let’s be precise. Remediation is not “mold removal” in the sense of wiping a surface with bleach and calling it done. It is the disciplined process of returning the indoor environment to a normal, healthy fungal condition, physically removing the contamination, correcting the moisture that caused it, and then proving the space is clean against an objective standard before anyone declares victory.
That last part is what separates real remediation from theater. Mold is not a stain you paint over; it’s a living colony with roots, called hyphae, that penetrate porous materials like drywall and wood. Spraying a surface kills what you can see and leaves the structure beneath it intact and ready to regrow the moment moisture returns. Genuine remediation removes the colonized material, captures the airborne spores that demolition stirs up, and dries out the underlying cause so the problem doesn’t simply reschedule itself for next season. It’s the difference between treating the symptom and ending the cause.
Here’s the truth most companies won’t lead with: mold is never the root problem. Mold is a moisture problem wearing a costume. Spores are present in every building in the world, harmlessly, all the time, they only bloom into a colony when they find a wet surface to feed on. That’s why remediation done right always begins with the water. If a hidden leak, a past water-damage event, or chronic condensation isn’t found and fixed, you can remove every visible spore in the house and the mold will be back, in the same spot, within months. We treat mold and moisture as two halves of one job, because physically they are.
The reason remediation is a profession and not a chore comes down to two words: containment and verification. Disturbing mold without containment is how a small, isolated problem becomes a whole-house contamination, demolition aerosolizes millions of spores that ride your HVAC system into rooms that were perfectly clean an hour earlier. And verification, independent lab testing after the work, is the only honest way to know the job actually worked. Skip either step and you’re guessing, and guessing is precisely how homeowners end up paying twice.
Need help now?
Talk to a Las Vegas expert
In-house certified crews. One-hour emergency response across the valley, 24/7.
Why mold in Las Vegas isn’t what you’d expect
Everyone assumes the desert is too dry for mold. That assumption is exactly why mold problems here get worse before anyone catches them. Nobody’s looking for it, so it grows behind walls and under floors for weeks or months before a smell or a stain finally gives it away, and the valley has its own specific ways of feeding mold that most homeowners never think about.
Slab leaks. A large share of valley homes sit on concrete slabs, and the supply lines running through them corrode or shift with our expansive soils. A slab leak can wet the underside of flooring and the base of walls for months, surfacing only as a warm spot, a high water bill, or a faint musty edge to the air, the perfect quiet incubator for mold.
Swamp coolers. Evaporative coolers are everywhere here, and by design they pump water across pads on your roof. A stuck float or cracked pan sends a slow, steady trickle down through ceilings and wall cavities, feeding mold in the very spaces you can’t see.
Monsoon season. For a few weeks each summer, violent rain hits flat roofs and parapet walls that are bone-dry the rest of the year. Water finds the seams, soaks into the structure, and the heat that follows turns that damp cavity into an oven that grows mold fast.
High-rise condensation. In the towers near the Strip and the valley’s denser condo stock, the gap between heavily air-conditioned interiors and 110-degree exteriors drives condensation inside wall assemblies. It’s a multi-unit, shared-liability situation that needs someone who understands desert high-rise construction, not a generalist with a fan.
The common thread is that Las Vegas mold almost always hides. By the time it’s visible, a colony has usually been established for a while in a cavity you can’t see, which is exactly why a thorough mold inspection, tracing the moisture to its source rather than just treating the spot on the wall, is the single most important step before any remediation begins.
How to tell if you actually have a mold problem
Because Las Vegas mold hides, most people don’t see a colony before they sense one. Knowing the real signs, and which ones mean “call now” versus “keep an eye on it”, helps you act at the right moment instead of panicking or, worse, ignoring it until it spreads.
A musty, earthy smell. This is the most reliable early warning, and the one people most often talk themselves out of. That damp-basement, old-book odor is the gas given off by an active colony. If a room smells musty and you can’t find the source, the source is usually inside a wall or under a floor, and the smell is the colony, not the air.
Visible spots and discoloration. Black, green, gray, or even orange and pink patches on walls, ceilings, grout, or baseboards. Mold isn’t always black; the “black mold” everyone fears is just one of many colors. What matters is the pattern, mold tends to spread in irregular, fuzzy or speckled clusters rather than a clean stain.
Warping, bubbling, or peeling. Paint that’s blistering, wallpaper lifting at a seam, drywall that’s soft or bowed, these are signs of moisture inside the material, and where there’s sustained moisture, mold is usually close behind. The cosmetic damage is the tip of the iceberg.
Recurring symptoms that ease when you leave home. Persistent congestion, headaches, scratchy throat, or worsened allergies and asthma that improve when you spend a day away can point to indoor air quality, and mold is a common cause. We’re careful here: we don’t diagnose health conditions, and we won’t use your family’s health to scare you. But if symptoms track with being home, a test is the calm, factual way to rule mold in or out.
If any of these ring true, the right next step is rarely demolition and never panic, it’s a measured look. A professional mold inspection traces the smell or the stain back to its moisture source and tells you, with data, whether you have a real problem and how big it is. And because the inspection includes free inspection for homeowners and property owners, finding out costs you nothing but a phone call.
The kinds of mold problems we remediate
Not every mold situation is the same job, and a good remediator scopes the work to the actual problem rather than selling one oversized package to everyone. Broadly, the calls we get fall into a handful of recognizable scenarios, and naming yours helps you understand what the work will and won’t involve.
One scenario deserves a special note, because it’s where fear does the most damage to wallets: so-called “toxic black mold.” The phrase usually refers to Stachybotrys, and yes, it’s a real organism worth taking seriously. But the remediation process for it is the same disciplined containment-and-removal process we use for any colony of its size, the color of the mold doesn’t change the rulebook. Companies that lead with “toxic black mold will poison your family” are usually softening you up for an inflated bill. We don’t do that. If what you have is concerning, we’ll tell you plainly and show you the lab data; if it’s harmless surface mildew, we’ll tell you that too, and we won’t charge you to find out, because the inspection is free.
Our remediation process, the S520 way
Every job follows the standard, not shortcuts. This is the exact sequence the ANSI/IICRC S520 standard lays out, the one Craig helped write, and the one we run from the first phone call to final clearance.
- Inspection & moisture diagnosis. We map the contamination and trace it to its moisture source with meters and thermal imaging during a full mold inspection. You can’t remediate what you haven’t found.
- Containment. We seal the work area with plastic barriers and run negative-air pressure with HEPA scrubbers, so demolition can’t push spores into clean parts of the home.
- Air filtration. HEPA air scrubbers run throughout, capturing the airborne spores that any disturbance releases, the step that keeps a contained problem from becoming a whole-house one.
- Removal of contaminated materials. Colonized porous materials, drywall, insulation, affected wood, are removed to standard and bagged out through the containment, never carried through clean rooms.
- Cleaning & HEPA vacuuming. Remaining surfaces and the captured area are HEPA-vacuumed and wiped to remove settled spores, and lingering musty smell is handled with real odor removal, not masked with fragrance.
- Fix the moisture & dry the structure. The leak gets corrected and the structure is dried to documented targets, because skipping this is how mold comes back. Often paired with full water-damage restoration.
- Independent clearance testing. A third-party accredited lab tests the air and surfaces to confirm normal fungal conditions, objective proof the job worked, not our word for it.
One thing we check before we cut into anything old
Remediation means opening walls and removing material, and in Las Vegas homes built before the mid-1980s, that material can contain asbestos, in old drywall texture, joint compound, vinyl flooring, and insulation. Disturbing it without knowing is a serious health hazard and, frankly, illegal to do carelessly. So in any older property, before demolition begins, we recommend asbestos testing on the materials we’ll be removing.
This is exactly the kind of step a company chasing a quick invoice skips, and exactly the kind that protects you. If the materials are clear, we proceed. If they’re not, we handle the abatement properly and on the record. It costs a little time up front; it saves you from a far bigger problem later. It’s the same philosophy that runs through everything we do, measure first, then act, and never trade your safety for our schedule.
Cost, insurance, and what to expect
The honest answer on cost is that it depends on scope, the size of the colony, how far it spread, whether it’s in an easy-access closet or buried behind tiled walls, and whether there’s water damage or biohazard layered on top. A small, contained surface remediation is a modest job; a hidden colony that has traveled through framing and into the HVAC system is a larger one. We scope the actual problem and quote it before work begins, so the number you hear is the number you understand.
On insurance: coverage usually follows the cause. If the mold grew from a sudden, accidental water event, a burst pipe, a failed water heater, an appliance line that let go, it’s frequently covered, and we document moisture readings, photos, and scope from the first visit and work directly with your adjuster. Mold from a gradual, neglected leak is often excluded, which is one more reason fast action and good documentation matter. We’ll tell you honestly which side of that line your situation likely falls on.
On timeline: a typical contained residential remediation runs a few days, setup and containment, removal, cleaning, drying, then a wait for clearance results from the lab. Larger or multi-unit jobs take longer, and the moisture-drying portion is the part that’s genuinely time-bound and shouldn’t be rushed. We won’t leave equipment running longer than the readings call for just to pad a bill, and we won’t cut a clearance short to hit a schedule. The lab result is the finish line, and it’s not ours to move.
If your situation is an active emergency, a flood, a sewage backup, water actively spreading, mold is the second problem, not the first. Call our 24/7 emergency line and we’ll stabilize the water first; remediation follows once the structure is stable. One crew, one chain of accountability, one standard, start to finish, we don’t hand you off to a second company mid-job.
We should also say a word about who tends to call us, because mold rarely stays a private homeowner problem for long. Realtors and home sellers reach us when mold surfaces mid-transaction and a deal is hanging on fast, lab-backed clearance an underwriter will accept, documentation matters as much as the cleanup. Property managers, HOAs, and high-rise condo boards call when water intrusion crosses unit lines and the question of whose responsibility it is rides on a credible, third-party account of what happened and what was done. And pre-remodel owners call before demo, because catching hidden mold, and clearing asbestos, before the walls come down is far cheaper than discovering it after. Whatever the stakes, the answer is the same: measure honestly, document everything, and let an independent lab grade the result.
Why Las Vegas trusts Mold Eliminators
Standards, not shortcuts
Every remediation is measured against the S520 standard Craig helped author. Containment, removal, and clearance follow the rulebook, not whatever’s fastest, and the results are documented, not eyeballed.
Independent truth
A third-party accredited lab verifies the air is clean, and the inspection is free for homeowners and property owners. We profit from fixing real mold, never from inventing it. If your home is clean, we’ll prove it and leave.
In-house accountability
No subcontractors, every technician is a certified W-2 employee, with one-hour emergency response, 24/7, across the valley. If our name is on the clearance, our people did the work.
That’s the whole difference. Where a franchise subcontracts your job to whoever’s available and self-certifies its own results, we send our own people and let an independent lab grade the outcome. You can read more about how we work, see exactly where we serve across Clark County, or just reach us directly, no call center in between, no stranger’s crew in your home.
Mold remediation in Las Vegas, common questions
- What’s the difference between mold removal and mold remediation?
- “Removal” suggests you can simply take mold away like a stain, but spores exist everywhere and can’t be eliminated entirely. Remediation is the correct goal: returning the indoor environment to normal fungal conditions by removing the colony, fixing the moisture that caused it, and verifying the result with an independent lab. We do remediation to the S520 standard, not surface theater.
- Can I just clean mold myself with bleach?
- For a small patch of surface mildew on a hard, non-porous surface, careful cleaning can be fine, and we’ll tell you honestly when that’s all you need. But bleach only treats the surface; it doesn’t reach the roots in porous drywall or wood, and disturbing a real colony without containment can spread spores through your whole home. When in doubt, get a free inspection before you scrub.
- Is “toxic black mold” as dangerous as people say?
- Stachybotrys is a real organism worth taking seriously, but the hysteria is usually a sales tactic. The remediation process is the same disciplined containment-and-removal work regardless of the color, the standard doesn’t change. We’ll show you the lab data and tell you plainly whether what you have is concerning or harmless, and we won’t scare you into an inflated bill.
- How do I know the mold is really gone after remediation?
- The only honest answer is independent clearance testing. A third-party accredited lab samples the air and surfaces after the work and confirms fungal conditions are back to normal. That objective result, not a technician’s say-so, is what tells you, your realtor, and your insurer that the job actually worked.
- Will mold come back after it’s remediated?
- Only if the moisture source isn’t fixed. Mold is a moisture problem in disguise, so every remediation we do finds and corrects the leak or humidity cause, often alongside structural drying, before we close the wall. Fix the water, and the mold has nothing to feed on. Skip it, and it returns in the same spot within months.
- Do you handle mold from floods and sewage backups too?
- Yes. Mold from a flood or a sewage backup is a contaminated, Category-3 situation that pairs remediation with biohazard cleanup and full containment. It’s never a DIY job, our W-2 technicians handle the water, the biohazard, and the mold as one accountable job rather than sending you to three separate companies.
Mold where it shouldn’t be? Let’s find out the truth, free.
Free, no-pressure assessment and independent lab testing. One-hour emergency response, 24/7, across the Las Vegas valley. We profit from fixing real mold, never from inventing one.